this article mainly introduces Perkins 2806F Engine of the ARD Spark Plug-Remove and Install
Perkins EST Electronic Service Tool Diagnostic Software Full Function 2022a
Removal Procedure
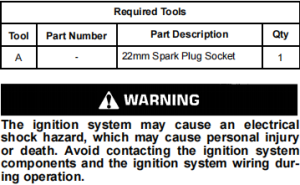
NOTICE
If the engine is running or the keyswitch is in the ONposition, the ARD spark plug will continue to fire. Turn the keyswitch to the OFF position before servicing the ARD spark plug.
1. Turn the battery disconnect switch to the OFF position.
Perkins SPI2 Version 2018A Service & Parts Catalogue Software
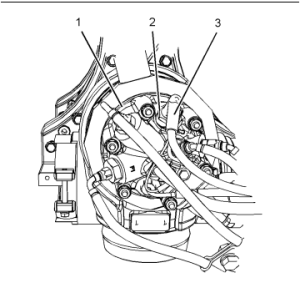
2. Disconnect ignition wire(3) from spark plug(2).
3. Use Tooling (A) in order to remove spark plug (2)
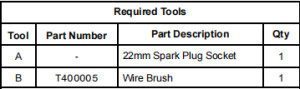
Installation Procedure
1. Ensure that all components are clean and free from wear and damage. If necessary, replace any components that are worn or damaged.
Perkins Engine ECM Flash File Download
2. Inspect the spark plug and sealing washer for damage or wear. Refer to Operation and Maintenance Manual,"ARD Spark Plug-Inspect/
Replace"for the correct procedure.
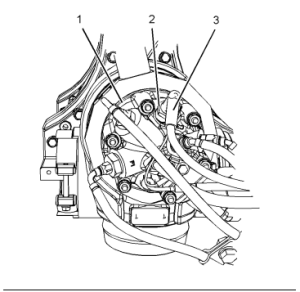
3. Use Tooling(B) in order to clean the ground electrode in ARD combustion head(1).
Note: Ensure that the threads in ARD combustion head (1) for spark plug (2) are clean and free from damage.
4. Install spark plug (2) to ARD combustion head(1).
5. Use Tooling (A) in order to tighten the spark plug to a torque of 47 N·m (35 lb ft).
6. Connect ignition wire(3) to spark plug(2).
7. Turn the battery disconnect switch to the ON position.


