Doosan DL220.PDF P181 Hydraulic Regulator Removal (HSG-94)
Doosan Diagnostic Tool uVIM Support Doosan Excavators High Quality
IMPORTANT:
Different versions in relation to position of cable harness are possible.
In this connection, pay attention to Specifications of Vehicle
Manufacturer.


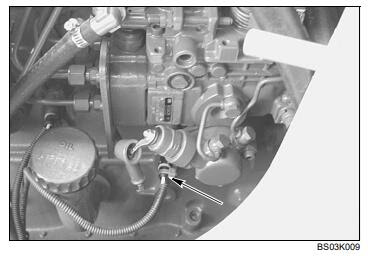
1.
Figure 64, shows complete control unit.

2020 Doosan Daewoo Excavator Operation and Repair Manual PDF
2.
Mark installation position of different covers, housing and cable harness with valve housing.

3.
Remove socket head screws.
4.
Separate duct plate, 1st gasket, intermediate plate and 2nd gasket from valve housing.
(S) Box spanner (Torx TX-27) -5873 042 0025.
Remove retaining clip.

5.
Remove retaining clip.

6.
Remove socket head screws.
7.
Separate cover from housing and cable harness.
(S) Box spanner (Torx TX-27) -5873 042 002

8.
Disassemble opposite cover.
9.
Disconnect pressure regulator and remove cable harness.

10. Remove socket head screws, remove fixing plate and pressure regulators (3x).
(S) Box spanner (Torx TX-27) -5873 042 002
Doosan DMS-5 (Doosan Data Monitoring System) Diagnostic Software V1.6.3

11. Remove two socket head screws and locate housing provisionally, using adjusting screws. (Housing is under spring preload). Remove remaining socket and screws.
(S) Box spanner (Torx TX-27) -5873 042 002
(S) Adjusting screws -5870 204 036

12. Separate housing from valve housing by loosening adjusting screws uniformly.
(S) Adjusting screws -5870 204 036

13. Remove components (Figure 73).
14. Remove opposite pressure regulators, housing and components accordingly (Figure 74).


